
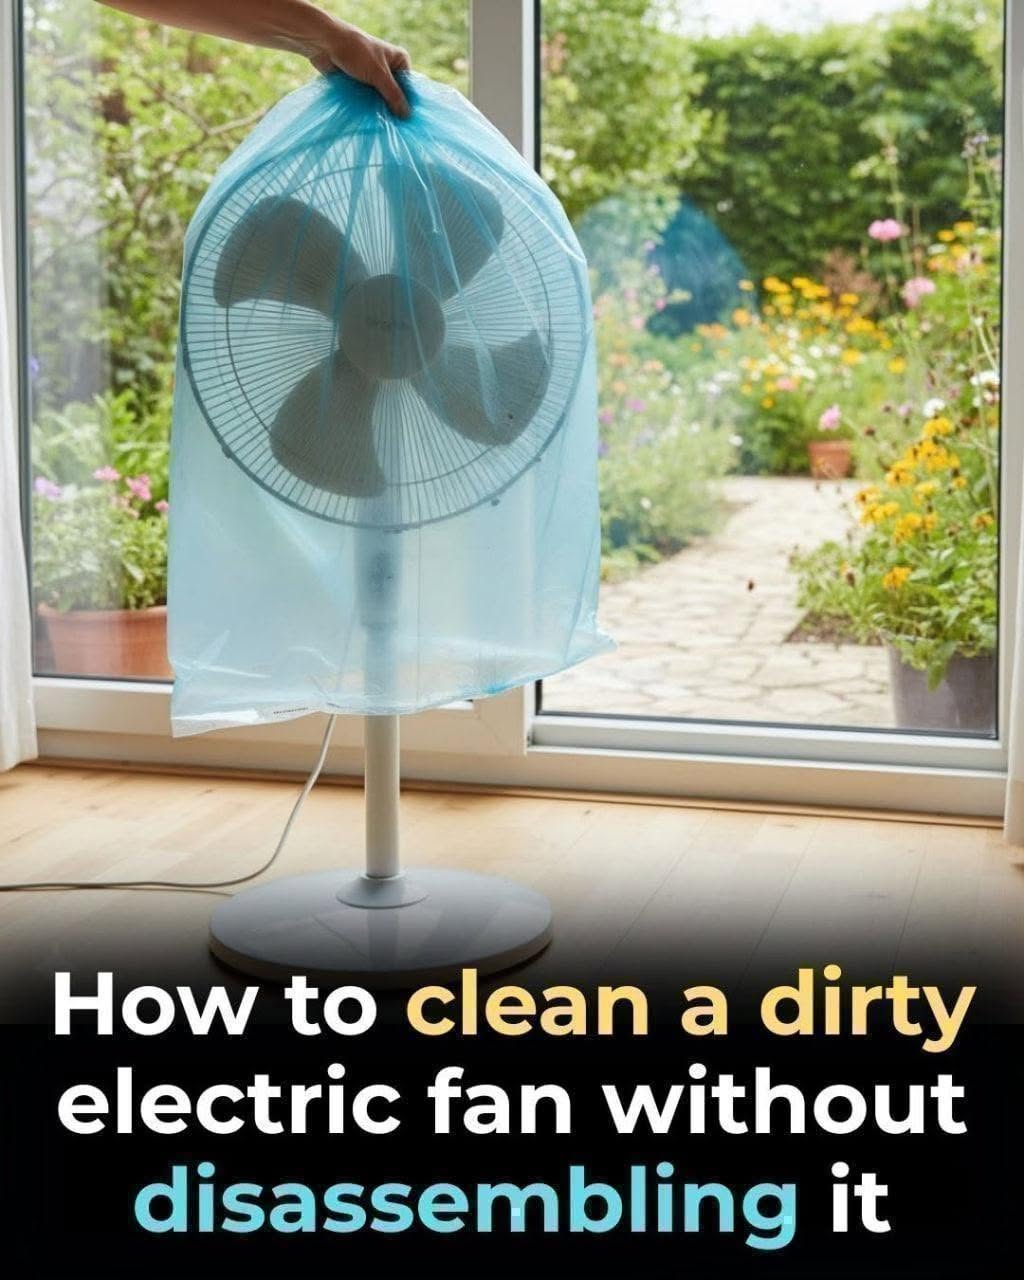
Fans are essential household appliances, especially during warm weather, but they can collect an impressive amount of dust over time.
Dust, pet hair, lint, cooking residue, and other airborne particles settle on the grille and blades. As the buildup grows, airflow may become weaker and the fan can start blowing some of that dust back into the room.
The good news is that light to moderate buildup can often be cleaned without completely disassembling the fan.
Before cleaning any electrical appliance, always unplug it and follow the manufacturer’s care instructions.
Why Clean Your Fan Regularly?
A dirty fan may:
- Move air less efficiently
- Collect dust and allergens
- Spread loose dust around the room
- Develop unpleasant odors
- Look visibly dirty
- Become harder to clean if residue is allowed to build up
Regular maintenance helps keep the grille and blades cleaner and may reduce the need for a more intensive deep cleaning later.
What You’ll Need
- Dry microfiber cloths
- A soft cleaning brush or old toothbrush
- Warm water
- A few drops of mild dish soap
- White vinegar, optional
- A spray bottle
- A thin ruler or flat tool wrapped in cloth
- A vacuum with a brush attachment, if available
Important Safety Rules
Never clean a fan while it is plugged in.
Do not spray large amounts of liquid through the grille.
Do not allow water or cleaning solution to enter the motor housing, control panel, plug, or electrical connections.
Never reconnect the fan to power until every cleaned area is completely dry.
Step 1: Unplug the Fan
Disconnect the fan from the electrical outlet before doing anything else.
If it is battery-powered or rechargeable, switch it off completely and follow the manufacturer’s instructions for safe cleaning.
Step 2: Remove Loose Dust First
Use a dry microfiber cloth, soft brush, or vacuum brush attachment to remove loose dust from the front and back grille.
This dry-cleaning step is important because adding moisture too early can turn loose dust into a muddy film that is harder to remove.
Step 3: Vacuum the Grille
If you have a vacuum cleaner with a soft brush attachment, gently move it over the grille openings.
Work across both the front and back of the fan if accessible.
The vacuum can remove a surprising amount of dust without any moisture at all.
Step 4: Prepare a Gentle Cleaning Solution
Fill a spray bottle with warm water and add only a few drops of mild dish soap.
You may add a small amount of white vinegar if the surface is compatible with it, but vinegar is optional.
Shake gently to combine.
Do not create an overly concentrated mixture.
Step 5: Clean the Exterior Grille
Instead of soaking the fan, lightly dampen a microfiber cloth with the cleaning solution.
Wipe the grille carefully, working section by section.
For narrow openings, use a soft toothbrush or small detailing brush.
Keep liquid away from the center motor housing and control areas.
The grille is usually the easiest part to clean, but the blades behind it can hold a much thicker layer of dust. The next trick helps reach them without taking the fan apart.
